
To edit your marking grid choose Edit Grid from the Grid Menu.
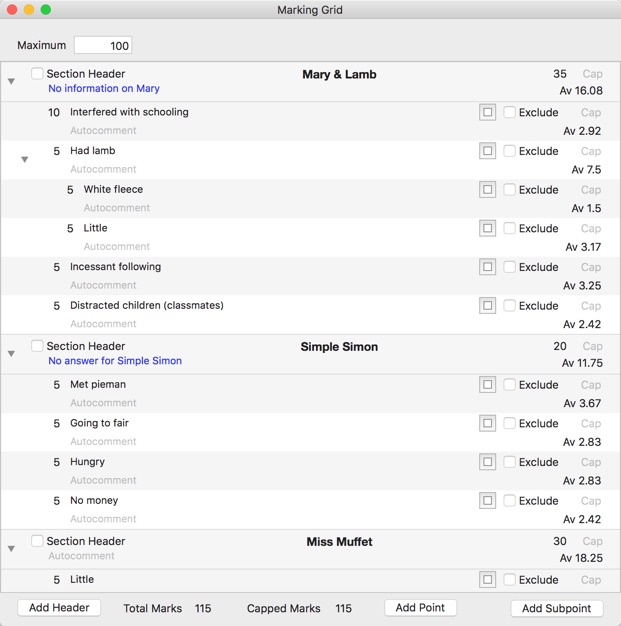
At the top you can enter the maximum score for the paper as a whole. When you make a new file, this will be set to the default values. You can alter this default in the Preferences window.
To add a new section, click Add Header. You can then enter the name of the section. If you enter a comment in the Autocomment field, any candidate who scores 0 in this section will have the comment added to their feedback. Clicking the section header button is cosmetic only. It will make the header a darker colour in the table.
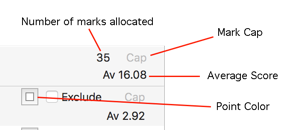

To delete a point or a header, select the row and press the delete button, or choose Delete from the Edit Menu If you just want to see the effect of removing a point from the marking grid, without deleting the point, you can check the exclude button.
Points can be moved up or down in the table by pressing Command ↑ or Command ↓. You can make a point a subpoint of an existing point by pressing Command →. You can promote a subpoint by pressing Command ←. Clicking the Add Subpoint button will add a subpoint to the selected point.
